The Process of Asphalt Paving Your Driveway
Choosing to refresh your property with a brand-new driveway is an excellent investment that significantly enhances curb appeal, increases property value, and provides a smooth, reliable surface for your vehicles. When it comes to selecting the ideal material for this home improvement project, residential asphalt paving stands out as the premier option due to its durability, flexibility, and cost-effectiveness. However, many homeowners are unfamiliar with what actually happens during the installation process, leading to uncertainty about how to prepare or what to expect when the crew arrives. Understanding the comprehensive step-by-step journey of modern asphalt paving can help you appreciate the precision, heavy machinery, and engineering required to deliver a flawless, long-lasting surface. From the initial layout and site preparation to the final compaction and curing phases, each stage plays a vital role in the structural integrity of your new driveway.
Step 1: Initial Assessment and Site Preparation
Conducting the Site Inspection
The very first phase of any successful installation begins long before the heavy machinery rolls onto your property. A professional contractor starts by assessing the unique layout of your front yard, taking detailed measurements of the proposed driveway footprint, and identifying any potential obstacles such as large tree roots, utilities, or existing structures. During this stage, experts determine the specific material requirements for the project. For example, generally between 7 and 15 tons of asphalt is required for a standard driveway installation, according to Bob Vila. Accurately estimating this volume ensures that the crew orders the perfect amount of hot-mix material from the local plant, preventing logistical delays or unnecessary waste while guaranteeing a seamless, continuous pour on the day of construction.
Executing the Demolition Process
Once the plan is finalized, the physical labor begins with clearing away the old, worn-out surface. Whether your current driveway consists of cracked concrete, failing asphalt, or overgrown gravel, it must be completely removed to create a blank canvas. Crews utilize heavy machinery like skid steers and front-end loaders to break up the old material and haul it away. A reputable contractor prioritizes environmental responsibility during this phase, which is why many modern operations ensure they use recycled asphalt paving. The old materials are taken to a recycling facility where they are crushed and repurposed for future infrastructure projects, minimizing landfill waste and reducing the overall environmental footprint of the construction process.
Step 2: Excavation and Grading
Performing the Deep Excavation
With the surface debris completely cleared, the focus shifts below ground level to the excavation phase. Specialized excavating equipment is brought in to dig down to the appropriate depth, which typically ranges from 8 to 12 inches, depending on the soil composition and the expected weight load of the vehicles. This step is critical because a long-lasting driveway requires a deep, stable cavity to house the structural base layers. Proper excavation removes unstable topsoil, organic matter, and loose clay that could shift over time, ensuring that the final asphalt paving surface rests on a completely firm and unyielding foundation.
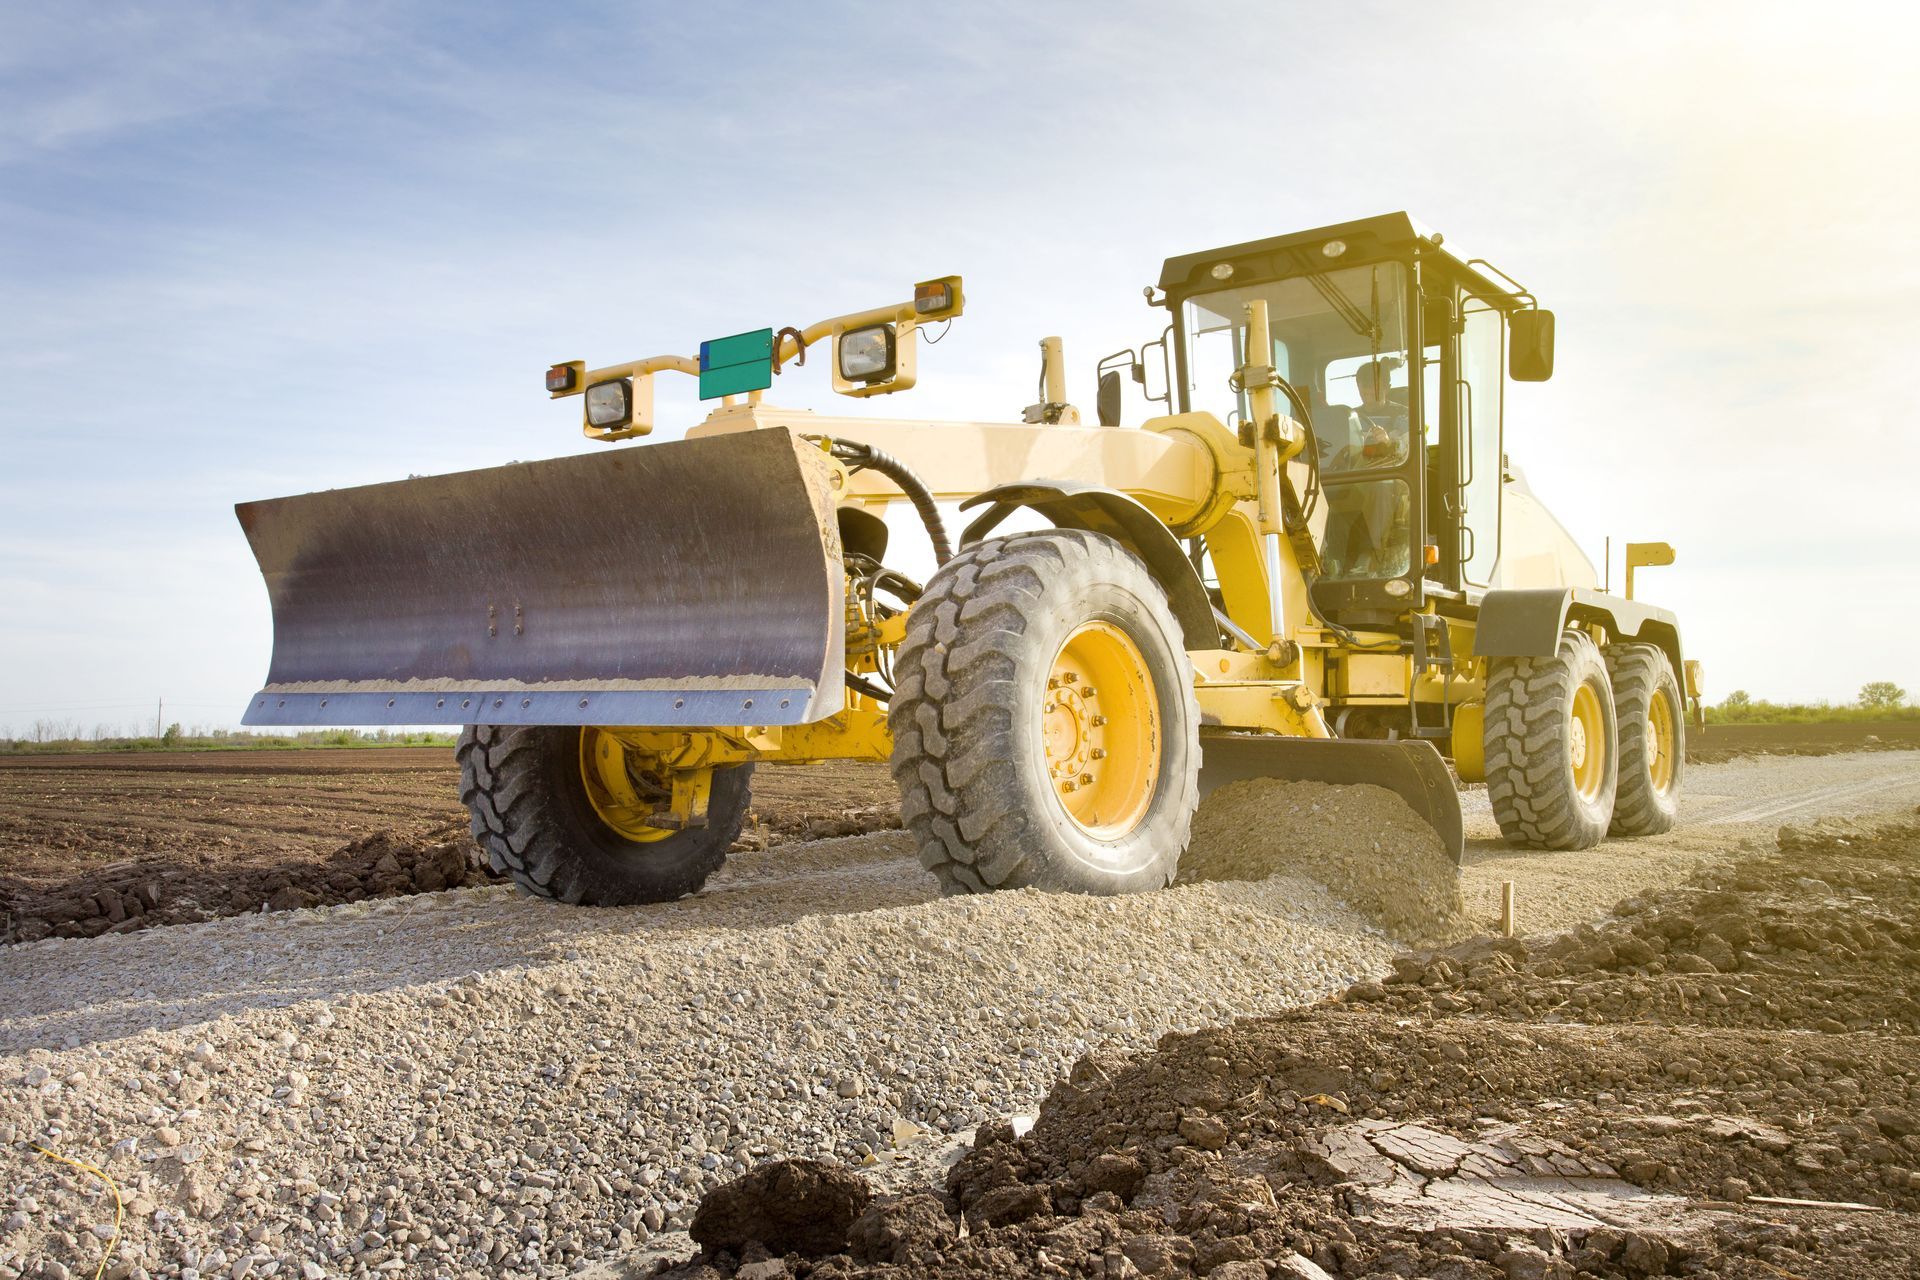
Establishing the Proper Slope
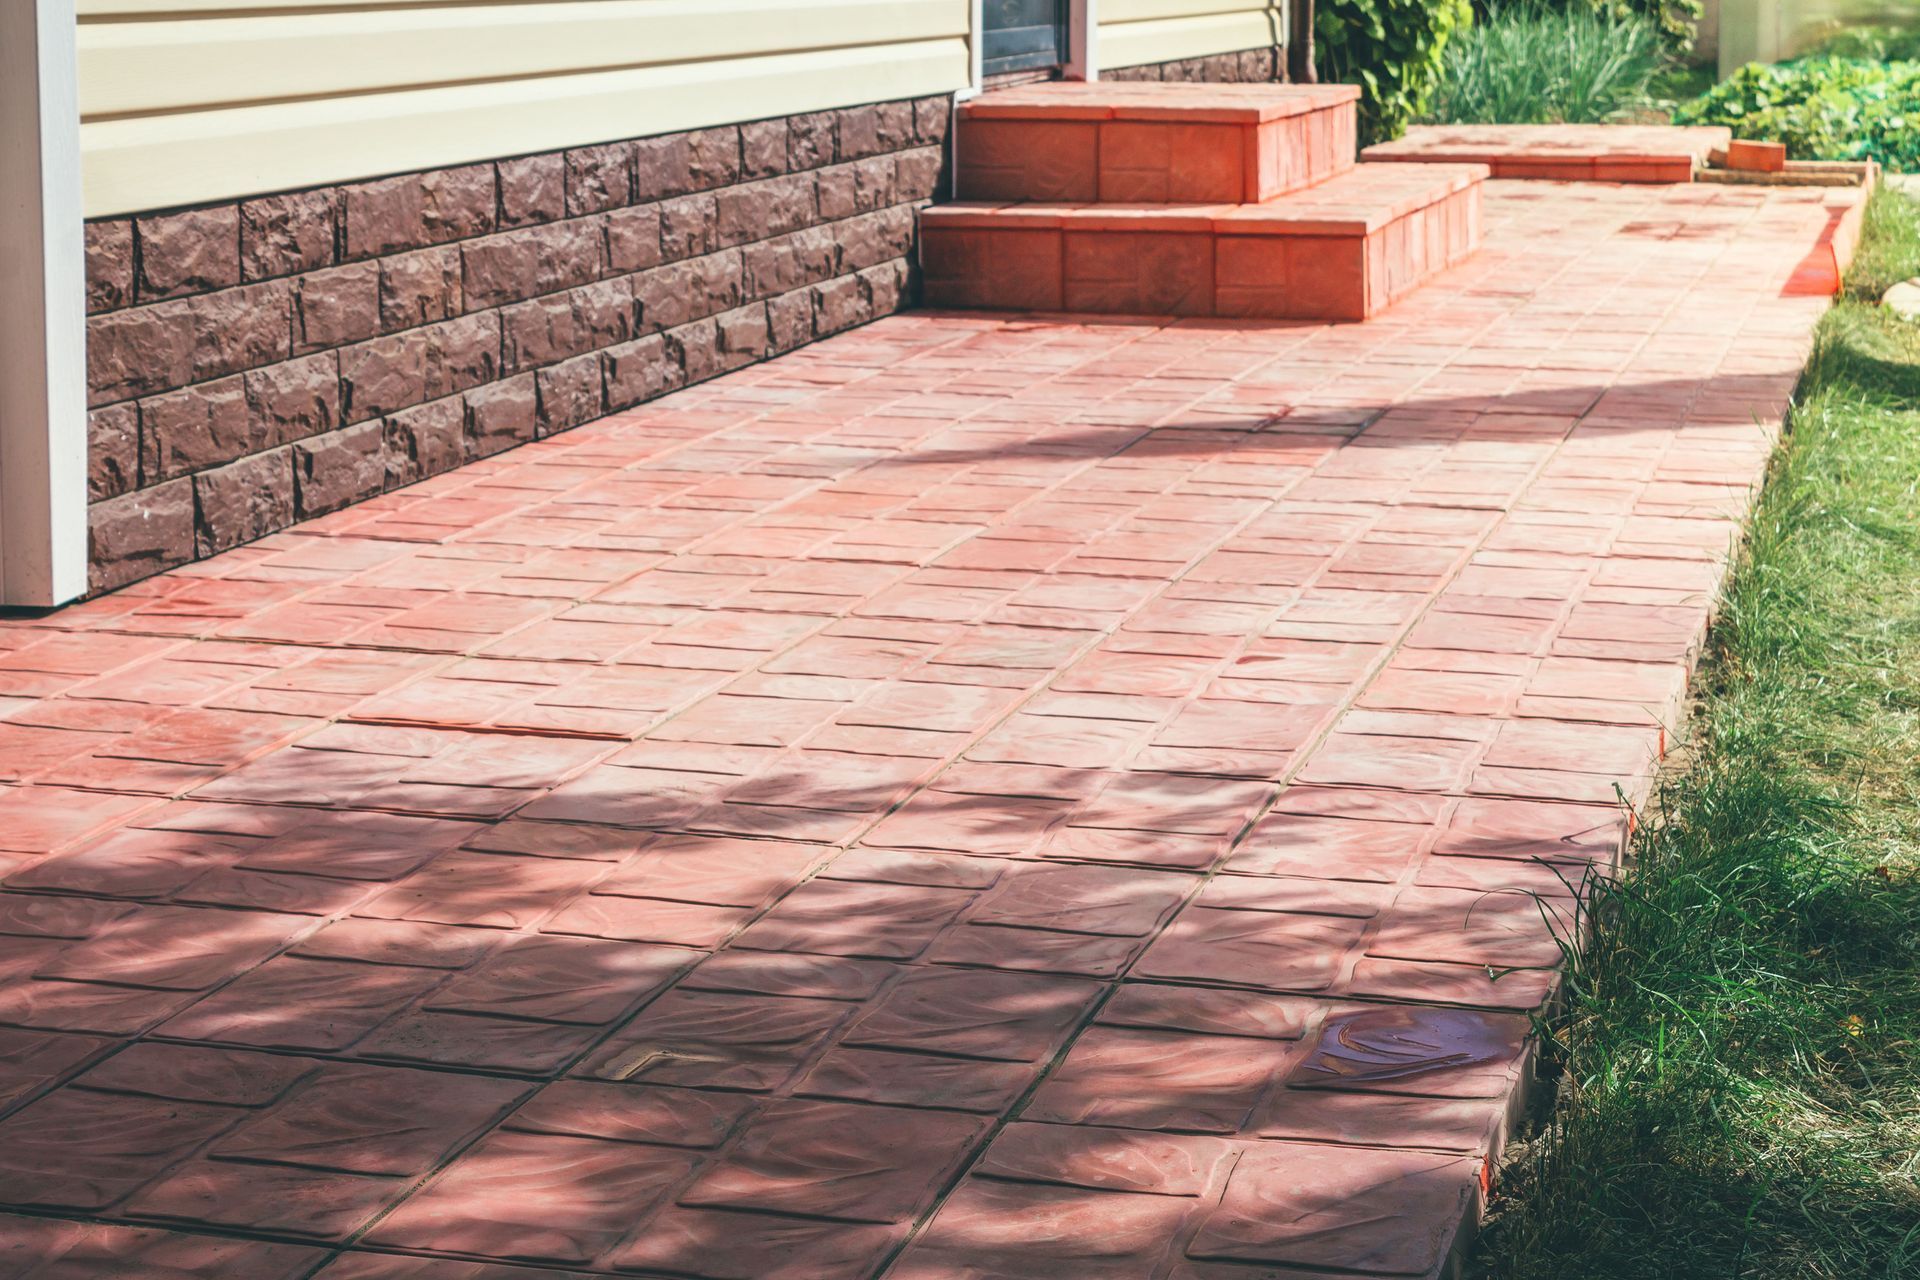
After the necessary depth is achieved, the team focuses heavily on grading the newly excavated area. Grading involves precisely leveling the dirt subgrade to ensure it perfectly mimics the final desired contour of the driveway. The primary objective during this phase is water management, as standing water is the single greatest enemy of any paved surface. Crews use transit levels and laser guiding systems to establish a precise slope that directs water away from your home's foundation and toward appropriate drainage areas. If the natural topography of your yard presents a severe slope or risk of soil erosion, the installation team may recommend integrating retaining walls to stabilize the surrounding earth and protect the integrity of the layout.
Step 3: Base Installation and Compaction
Laying the Aggregate Foundation
The structural integrity of asphalt paving does not actually come from the dark top layer, but rather from the crushed stone base hidden underneath it. Once grading is complete, a thick layer of coarse, crushed aggregate stone is distributed evenly throughout the excavated trench. This sub-base acts as the true load-bearing foundation for the entire structure, distributing the weight of heavy vehicles evenly across the soil. It also acts as a crucial barrier that allows any water filtering through the ground to drain away harmlessly without disrupting the surface above.
Compacting the Sub-Base Layer
After the aggregate stone is spread, it must be compacted using heavy-duty, vibrating roller trucks. This compaction process is vital because it packs the loose stones tightly together, eliminating any air pockets or voids that could cause future settling, shifting, or dipping. A properly compacted sub-base provides the rigid, unyielding platform necessary to support the hot-mix material. Throughout this phase, experienced technicians check the density of the base, ensuring it meets strict engineering standards before moving forward with the actual asphalt paving.
Step 4: Asphalt Application and Final Rolling
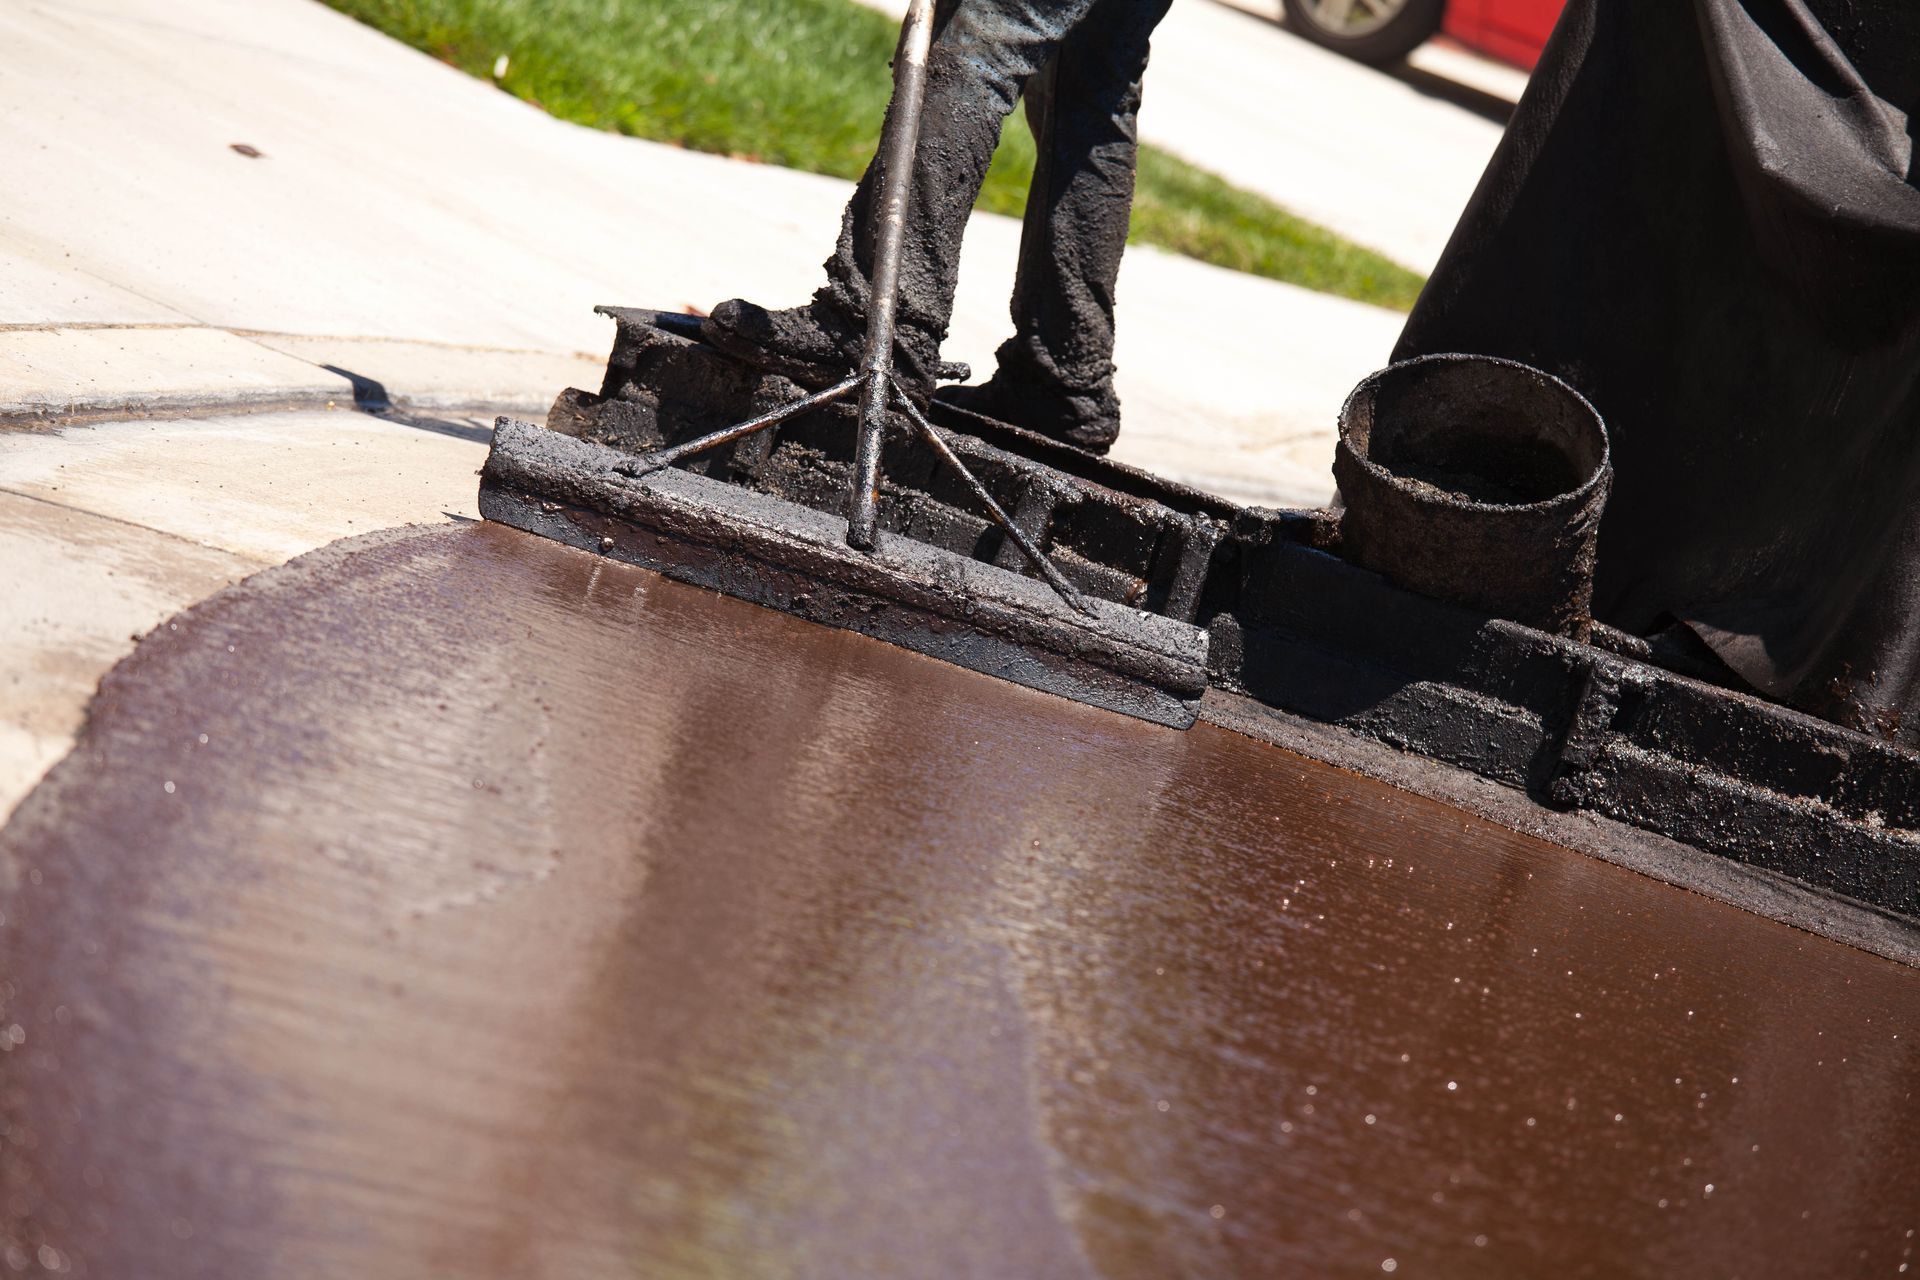
Pouring the Hot Asphalt Mix
With the aggregate foundation perfectly stabilized, the highly anticipated paving phase begins. A heated dump truck delivers the fresh, steaming hot-mix material straight from the plant to your property, maintaining an optimal installation temperature between 275 and 300 degrees Fahrenheit. The material is fed directly into a mechanical paver, which moves steadily down the driveway layout, distributing a perfectly uniform layer of aggregate and liquid asphalt binder. The crew works quickly and meticulously behind the machine, using hand rakes to smooth out edges, joint lines, and intricate corners around existing masonry stonework or walkways.
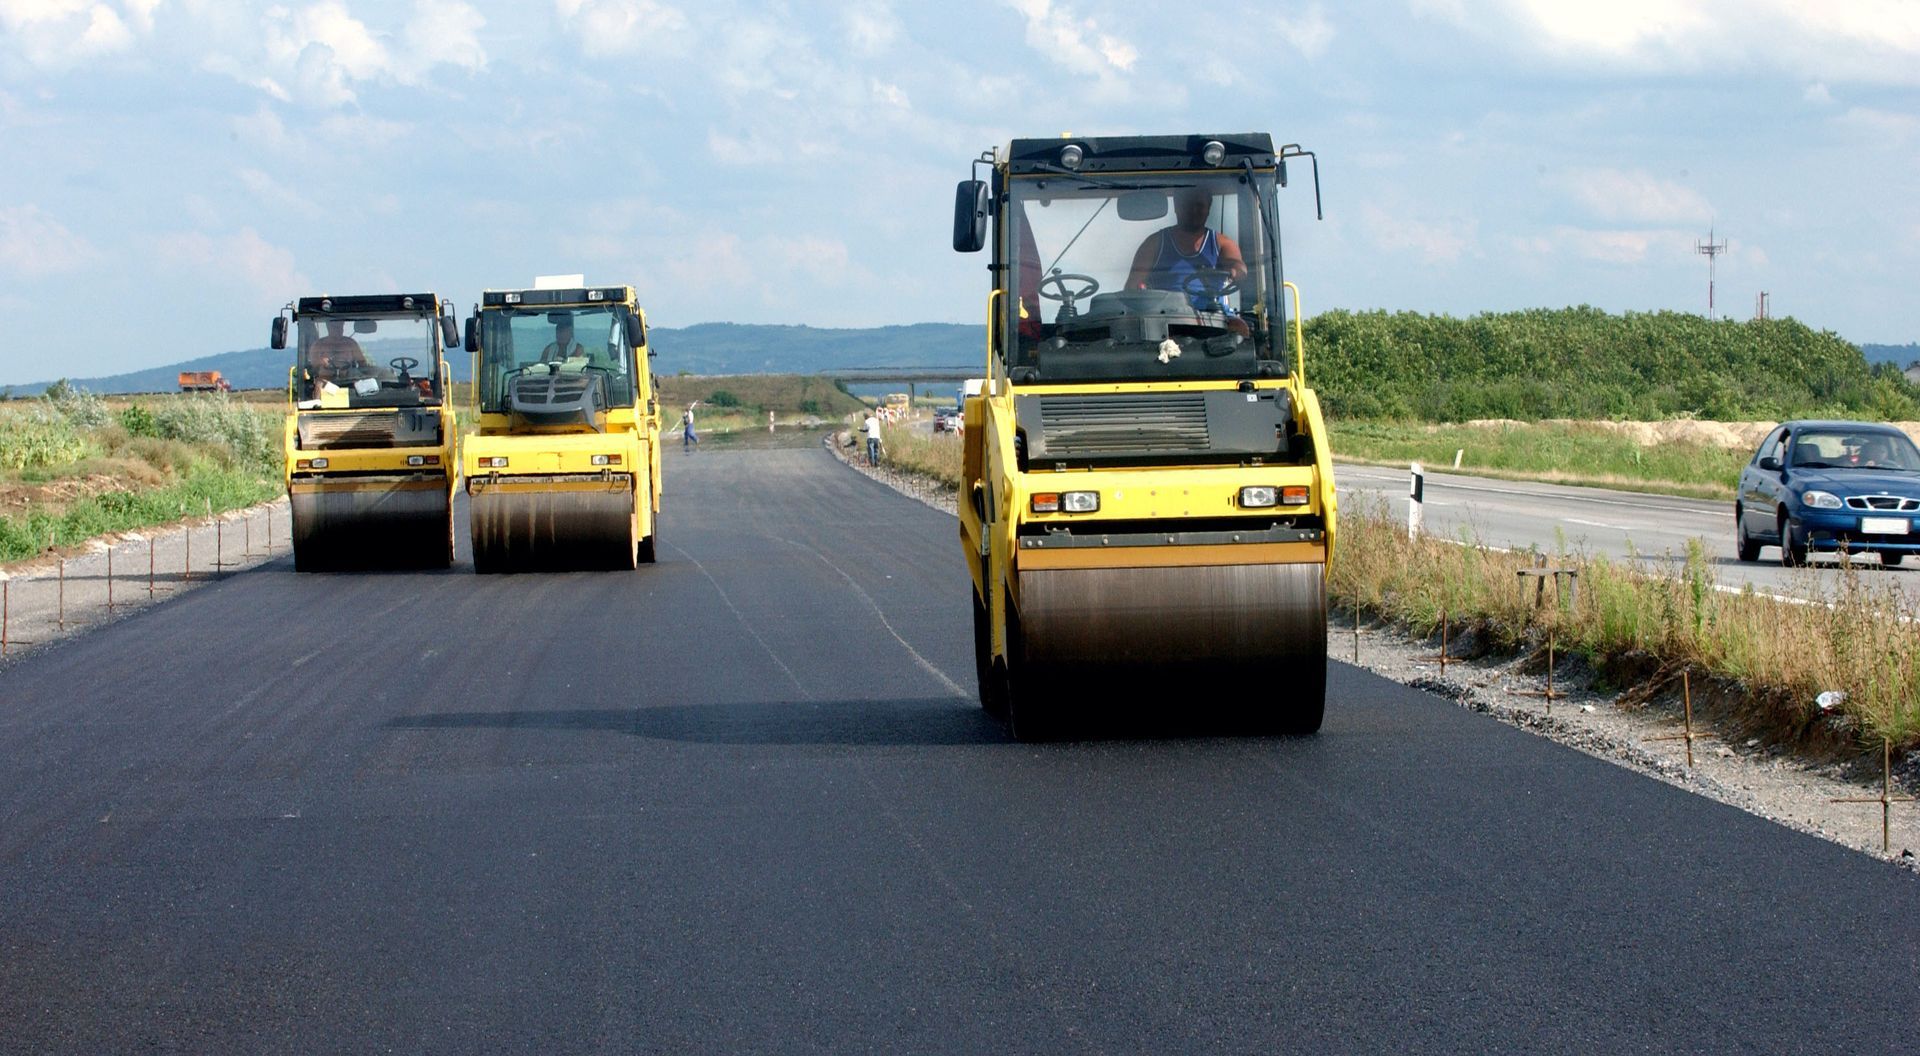
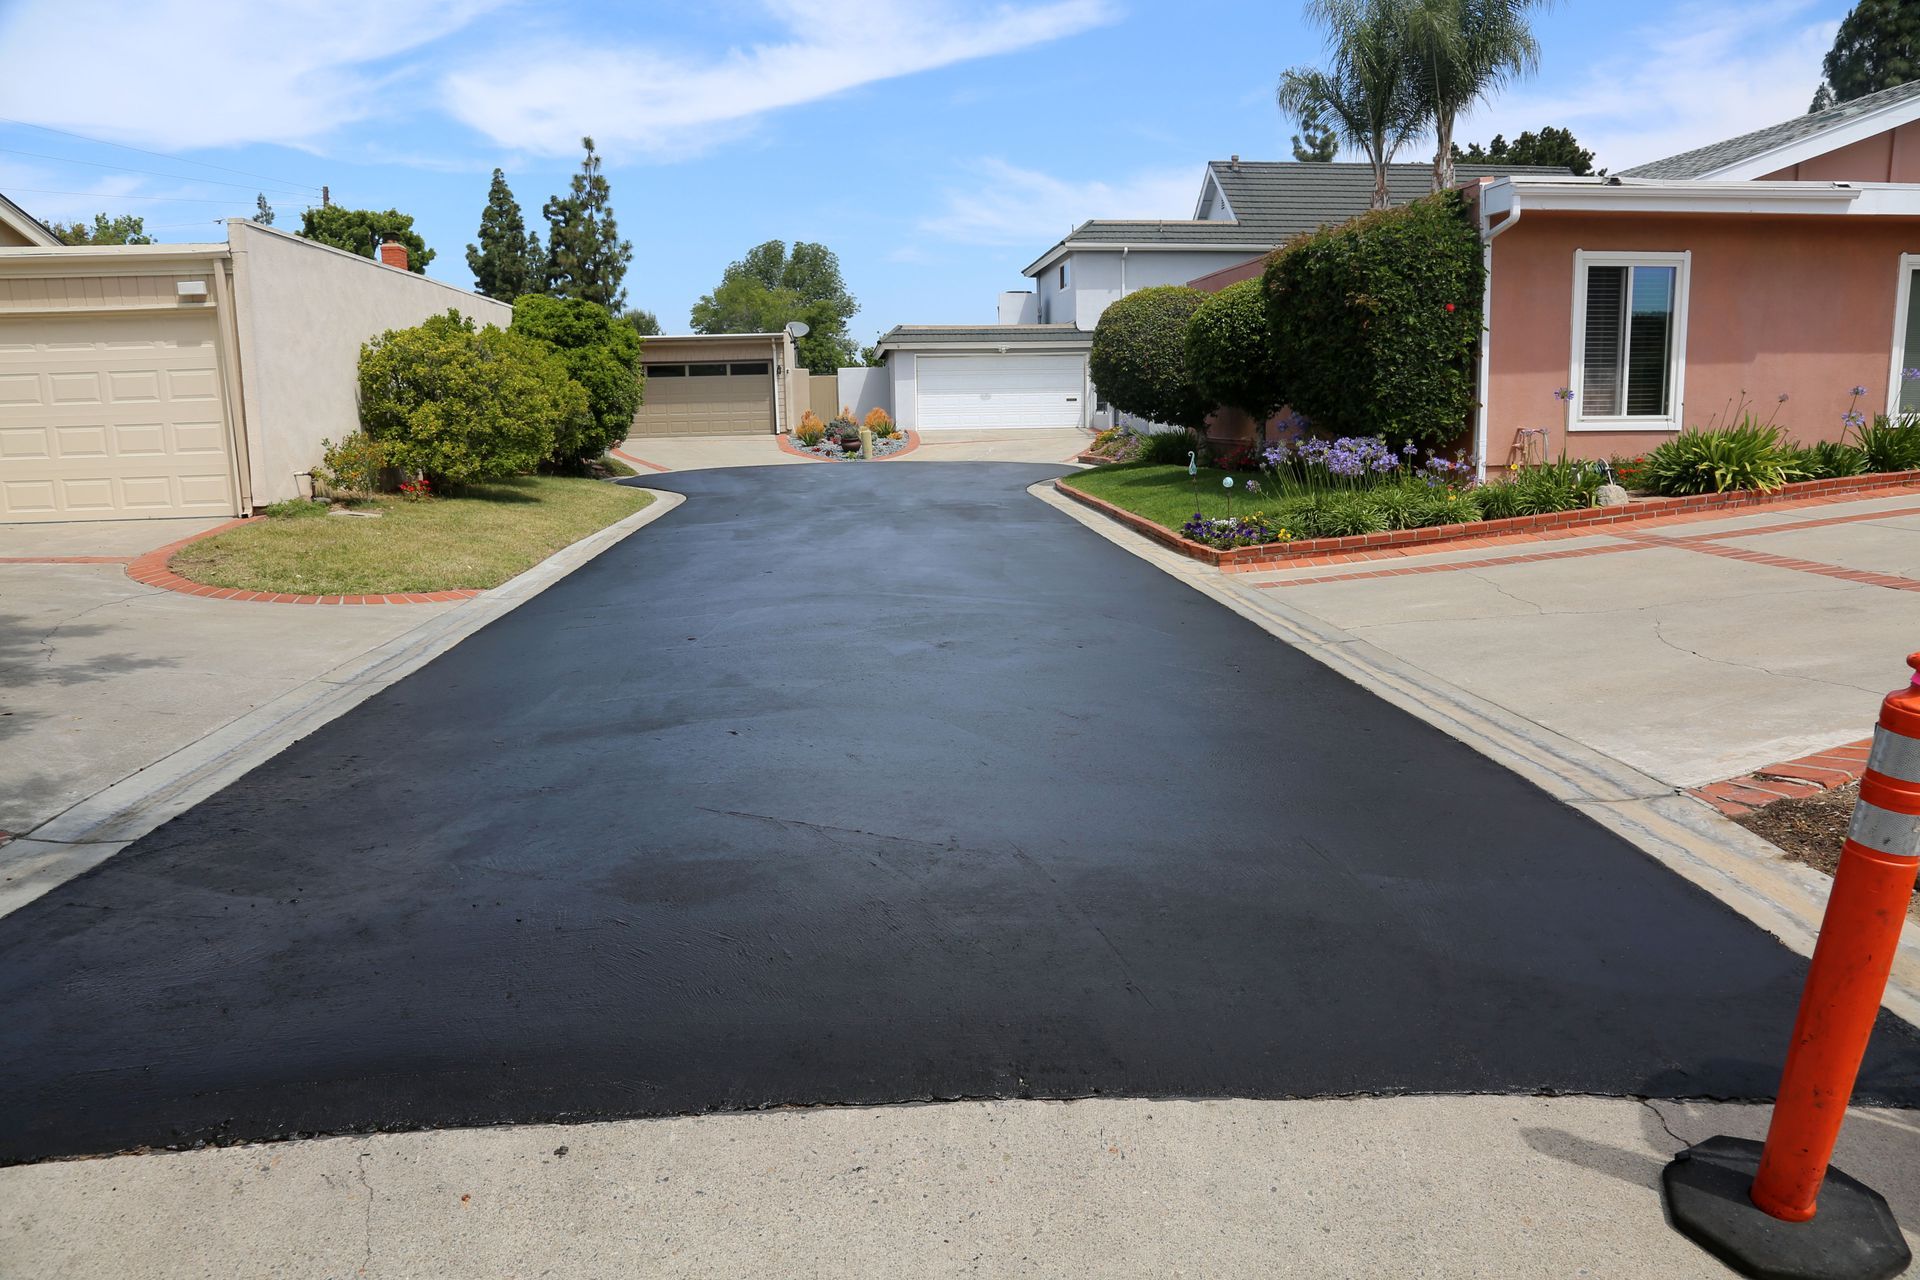
Compacting the Final Surface
As soon as the hot material is spread to the correct thickness, the final compaction process begins while the mix is still highly malleable. A massive, heavy steel drum roller drives over the surface repeatedly in a specific, overlapping pattern. This rolling process compresses the loose mixture into a dense, smooth, and water-resistant pavement. The operators monitor the temperature of the material constantly during this phase, as rolling must be completed before the mix cools down and hardens. Proper compaction ensures a smooth ride, prevents water penetration, and gives the driveway its signature, sleek black aesthetic.
Step 5: Post-Installation Care and Curing
Restricting Immediate Vehicle Traffic
Once the heavy rollers complete their final passes, the physical installation is technically complete, but the curing process has just begun. While the surface may feel cool to the touch within a few hours, it takes time for the liquid binders to fully chemically cure and harden. Homeowners must strictly avoid driving or parking vehicles on the new surface for at least 24 to 72 hours, depending on the ambient weather conditions. Walking on the surface is generally safe after a few hours, but keeping heavy traffic off the area initially prevents structural scarring, ruts, or tire marks.
Maintaining Long-Term Driveway Health
To maximize the lifespan of your newly paved surface, adopting a routine maintenance schedule is highly recommended. For the first few months, try to avoid parking heavy trucks in the exact same spot for extended periods, and turn your steering wheel only while your vehicle is in motion to prevent scuffing. It is also beneficial to keep the edges clear of heavy soil and debris to preserve the integrated drainage paths. Within a year or two, applying a high-quality sealant can help protect the binder from harmful ultraviolet rays and automotive fluid spills, ensuring your investment remains pristine for decades.
Investing in a professionally installed driveway transforms your property, but achieving flawless results requires an experienced, professional crew that understands the intricate physics of soil, water, and heavy machinery. When selecting a contractor for your project, it is essential to partner with an established company that brings recognized credentials and industry-standard compliance to the job site. Homeowners should look for businesses aligned with trusted trade organizations, such as the National Federation of Independent Business or the Motor Transportation Association of Connecticut, which signals a deep commitment to ethical business practices and community standards. Furthermore, ensuring your chosen team is fully licensed, insured, and OSHA certified guarantees that the entire residential or commercial paving project will be executed safely, legally, and to the highest industry standards. If you are ready to upgrade to
asphalt paving, reach out to Bouchard Construction Inc for free estimates, the first step toward planning a seamless installation.


Share On: